
Buying jewelry online often feels like a gamble. Many people hesitate at checkout, worried that a wrong size will lead to a return or a ring that pinches throughout the day. After testing several home measurement methods, I use the system below to help you find ring size with less guesswork and a clearer sense of fit.
This approach moves beyond wrapping string around a finger once and hoping for the best. By measuring carefully, checking the knuckle, and paying attention to how a fitted band behaves on the hand, you can choose your next piece of jewelry with more confidence.
The String or Paper Method
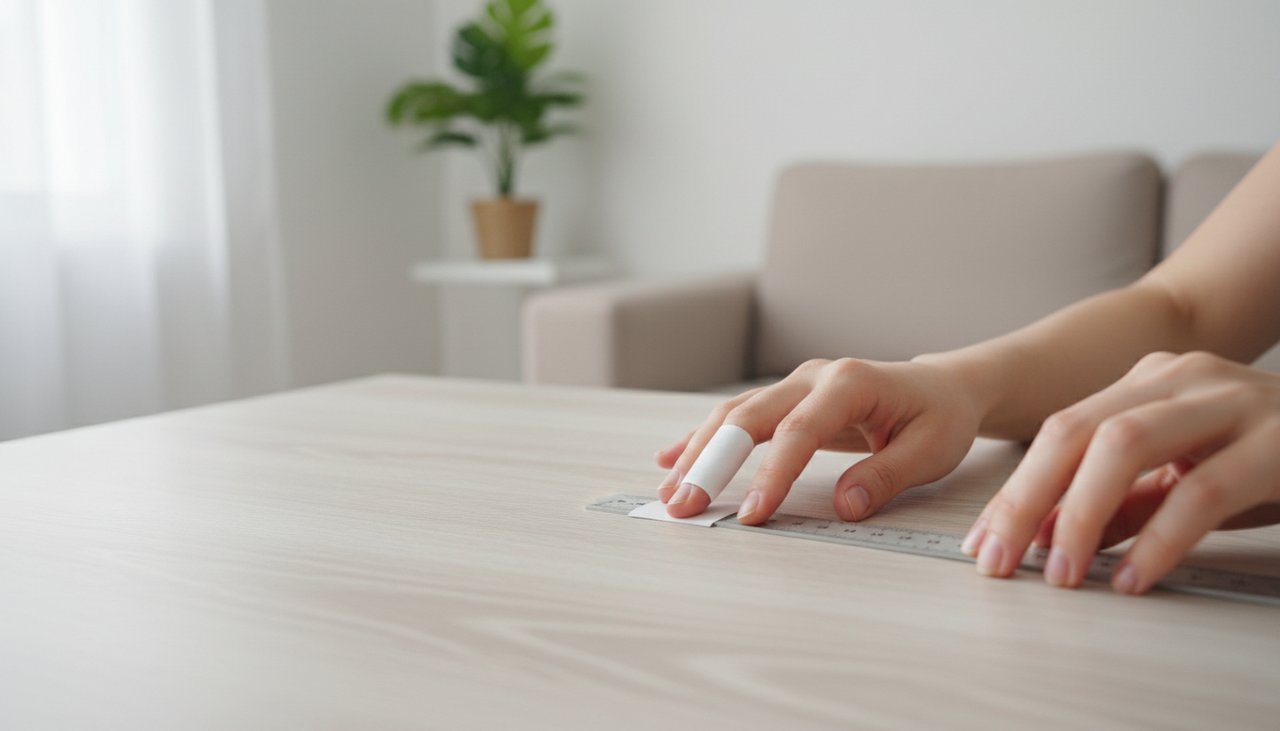
Many people start with a strip of paper or a piece of string because these materials are readily available. While convenient, this method is best used as a rough starting point — string can stretch and paper often twists, making precise measurement difficult with one hand.
If this is the method you have available, follow the steps in order:
- Cut a thin strip of paper or a piece of string, about 10cm long.
- Wrap it snugly around the base of your finger — firm contact, but not tight enough to indent the skin.
- Mark the exact point where the strip overlaps itself.
- Lay it flat on a hard surface and measure the length in millimeters.
- Compare that number against a standard ring size chart.
Most importantly, this technique often overlooks the knuckle. A ring is a rigid metal band that must pass over the widest part of your finger joint before it rests at the base. Measuring only the softest part of the finger can result in a ring that is impossible to put on.
When your measurement lands between two entries on a standard ring size chart, the deciding factor is your knuckle. If your knuckle is noticeably wider than the base of your finger, round up — the ring needs to clear the joint first. If your knuckle and finger base are close in width, round down for a more secure fit at rest.
The Printable Sizer Method
A printable paper sizer offers a significant improvement in accuracy. Most reputable jewelers provide PDF templates that you can print and cut out to create a structured measuring tool. This method mimics the actual shape of a ring more closely than a simple piece of string.
The most critical step occurs before you begin cutting. You must ensure your printer settings are locked at exactly 100% scale. If your computer automatically fits the image to the page borders, the resulting measurement will be useless. Print on cardstock rather than standard A4 paper — the added rigidity keeps the strip from bending when you wrap it, which is one of the more common sources of error in home measurement.
Always perform a calibration check to verify the proportions. High-quality templates include a small guide meant to match the size of a standard credit card or a specific coin. If your physical card does not align perfectly with the printed lines, adjust your settings and print again.
Testing the Fit
A measurement is just a number on a chart, but a proper fit is defined by how the ring behaves on your hand. GIA’s guidance on finger and ring sizing notes that a ring should pass over the finger joint and settle where it will be worn. That physical feedback is the most reliable way to confirm your size at home.
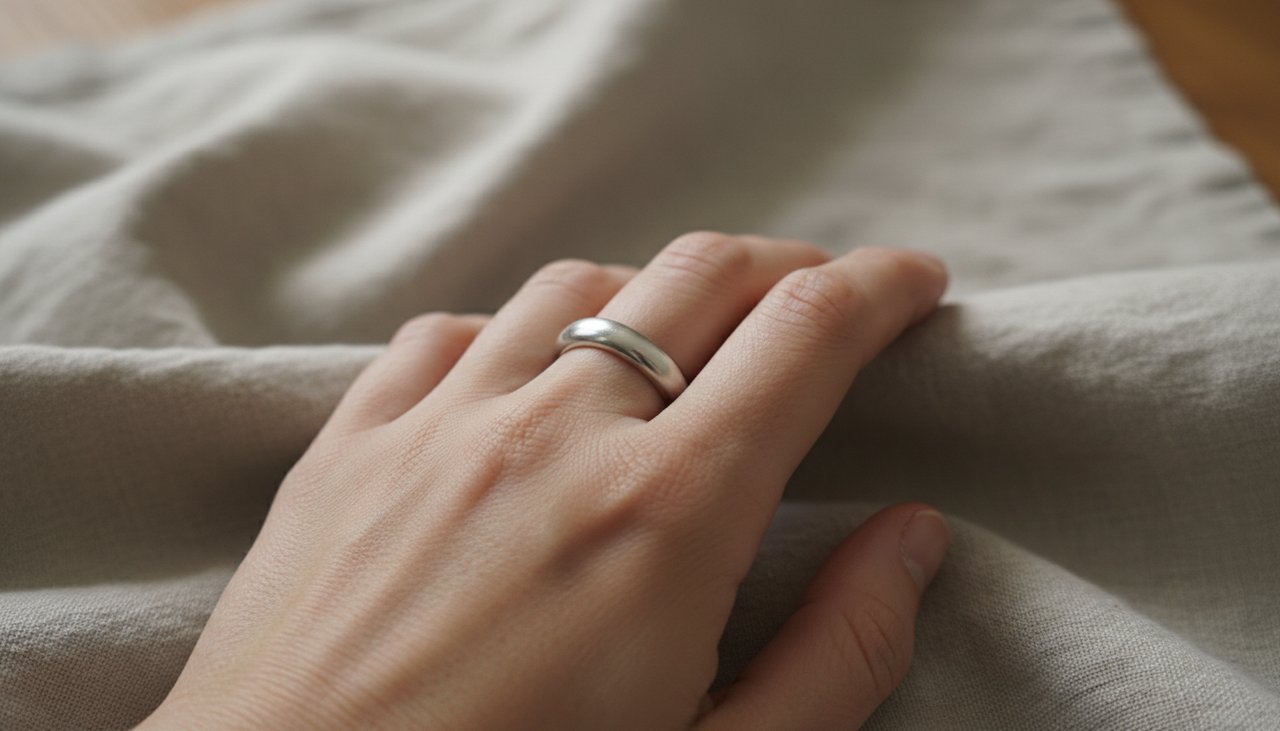
A ring should slide over your knuckle with relative ease but stay secure once it reaches the base. When you remove it, you should feel a slight tug and perhaps need a brief wiggle to clear the joint. This resistance helps prevent the ring from slipping off during daily activities.
If you are using a plastic sizer at home, you can perform a simple shake test. Put the sizer on, let your hand hang down, and give it a firm shake. If the sizer slides past your knuckle easily, it is too loose and you should try a smaller size.
A proper fit balances security at the knuckle with comfortable contact at the base of your finger.
The Final Sizing Checklist
Finger size is not static; it fluctuates based on your environment and the time of day. Measure your hands in the evening when your fingers are closer to their daily maximum size. GIA also recommends checking finger size on more than one occasion because fingers swell and contract.
Be aware of several factors that can alter your results:
- Cold weather causes fingers to temporarily shrink.
- High heat or humidity leads to noticeable swelling.
- Salty meals or exercise can expand tissue size.
- Ensuring a proper fit also helps prevent issues like rings green finger, as it allows for better air circulation and reduces moisture trapped against the skin.
- Comfort fit bands have a domed interior and often require a half-size smaller than standard flat bands.
- Band width affects how the ring sits: narrow bands of 2mm or less tend to fit true to size, while wider bands of 6mm and above create more surface friction against the finger — size up by half a size for anything in that range.
The internal profile of the ring also matters. A comfort fit design allows the metal to slide over the knuckle more easily than a flat-inside band. Always check the product description to see which profile the jeweler uses.
Buying a Ring as a Gift
When the ring is meant to be a surprise, avoid guessing from height, weight, or clothing size. Those clues do not translate reliably to fingers. A better method is to borrow a ring the person already wears on the same finger and measure its inner diameter with a ruler or calipers.
If you cannot borrow the ring, place it on paper and trace the inside circle as cleanly as possible. This will not be as accurate as a jeweler’s mandrel, but it gives you a useful starting point. For a high-stakes gift, choose a design that can be resized and confirm the return or exchange policy before buying.
Circumference to Ring Size
Once you have your measurement in millimeters, use this table to locate your size. The table uses common US / Canada sizes and EU sizes based on inner circumference in millimeters. UK and Australian systems use letters, so treat this as a starting point and check the seller’s own conversion chart before ordering.
| Circumference (mm) | Diameter (mm) | US / Canada | EU / Asia |
|---|---|---|---|
| 44 | 14.0 | 3 | 44 |
| 47 | 15.0 | 4 | 47 |
| 49 | 15.6 | 5 | 49 |
| 51 | 16.2 | 5.5 | 51 |
| 52 | 16.6 | 6 | 52 |
| 54 | 17.2 | 7 | 54 |
| 57 | 18.1 | 8 | 57 |
| 60 | 19.1 | 9 | 60 |
| 62 | 19.7 | 10 | 62 |
If your number falls between two rows, apply the knuckle rule above. For a narrow ring, the smaller size may feel more secure. For a wide band, the larger size is often more comfortable.
Making Your Final Choice
Once you understand these physical cues and environmental variables, choosing a size becomes less abstract. You are not guessing at a random number; you are comparing measurement, knuckle clearance, band width, and daily comfort.
If your knuckle is significantly wider than your finger base, the printable sizer is the more reliable starting point — it gives you a physical feel for how the band will clear the joint. If your fingers are fairly uniform in width from base to knuckle, the string or paper method is accurate enough to get you to the right size, and the shake test will confirm it. Once you have found your ideal fit, learning how to clean jewelry at home will ensure your daily pieces maintain their natural luster for the long term.